Restricted Shifts for Admin
This video will show you how to create and use a Restricted Shift:
Restricted Shifts- Admin
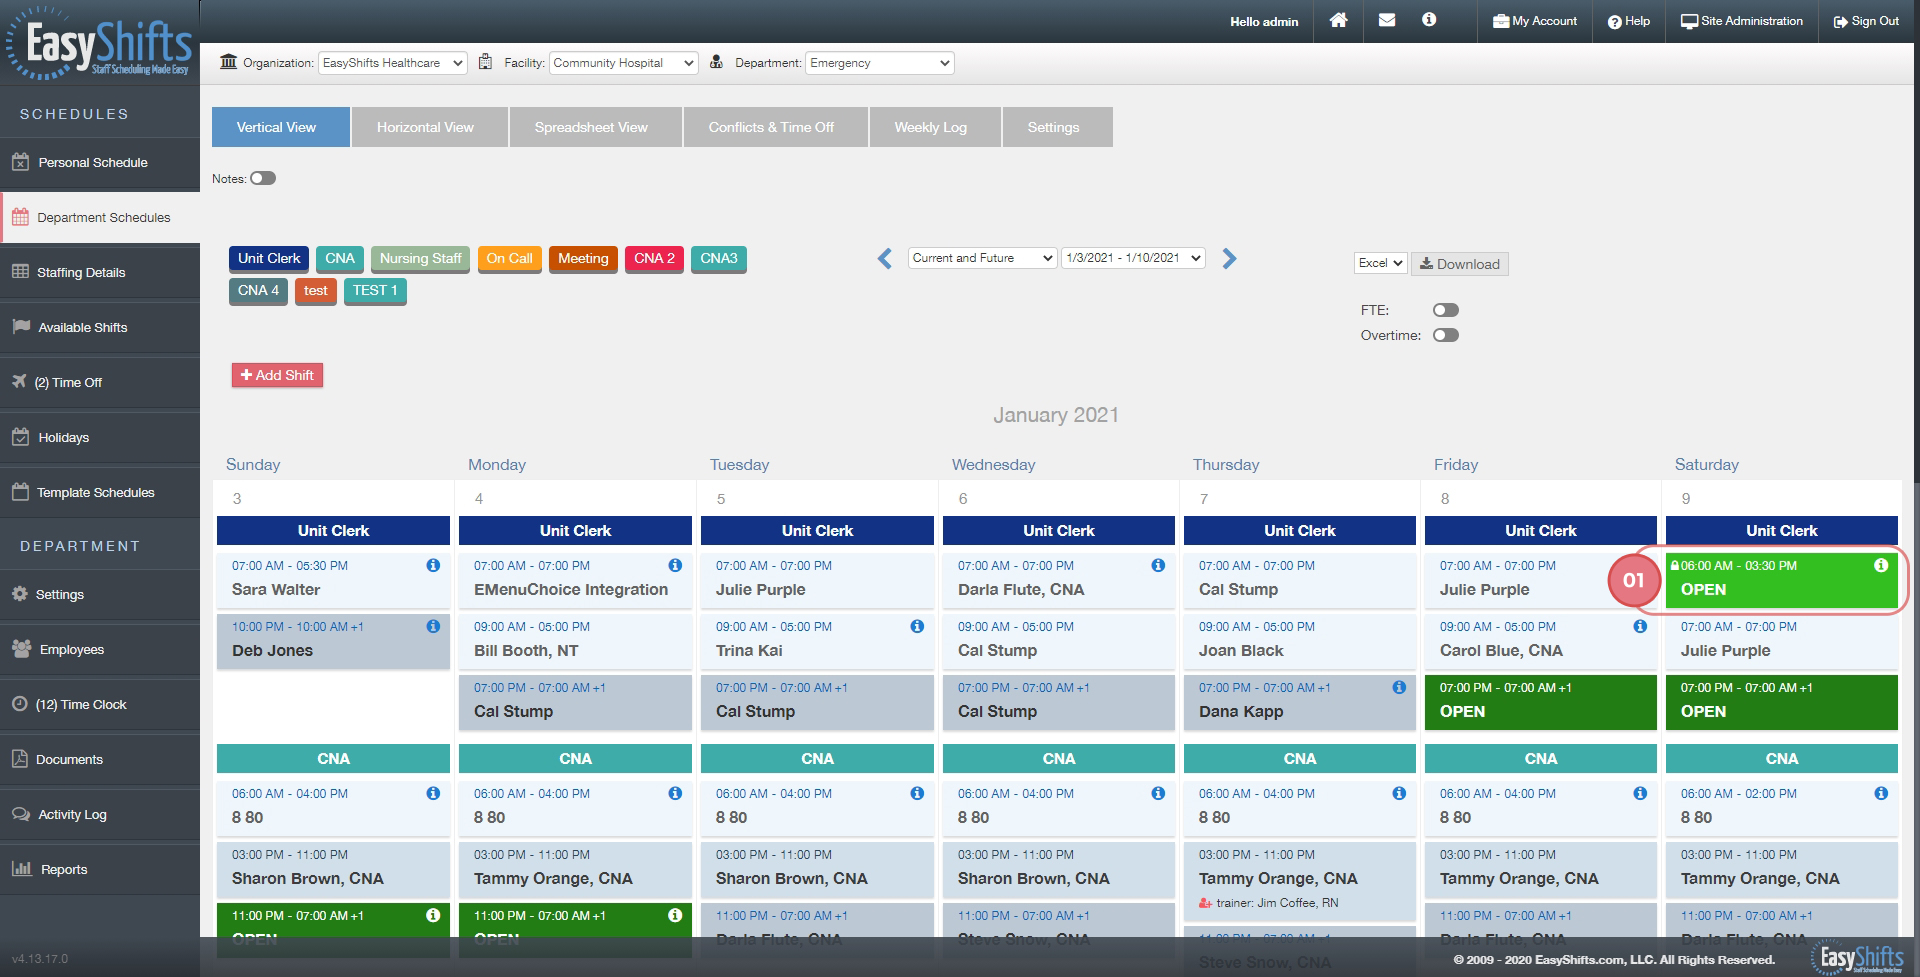
Restricted shifts are shifts that employees cannot pick up without an admin's approval. Restricted shifts are indicated by the padlock icon within the shift.
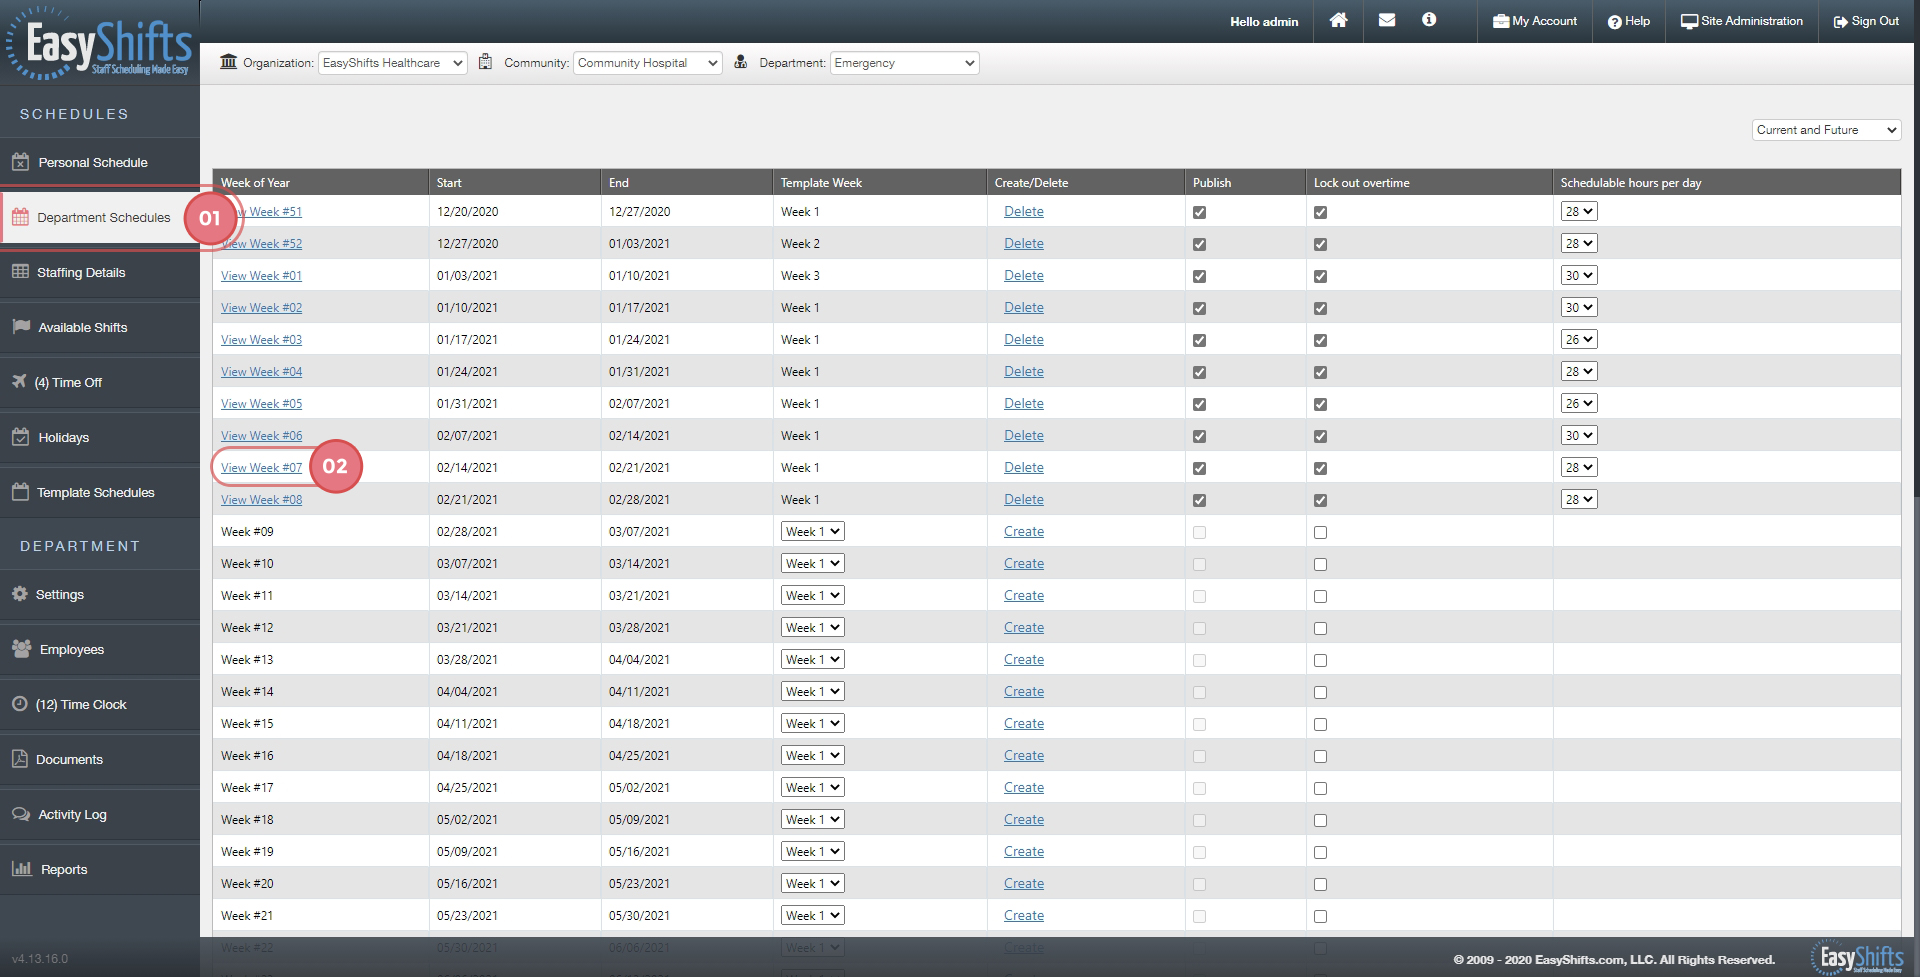
1. To create a restricted shift you must first select the "Department Schedules" tab.
2. Next choose which week you wish to create the shift for.
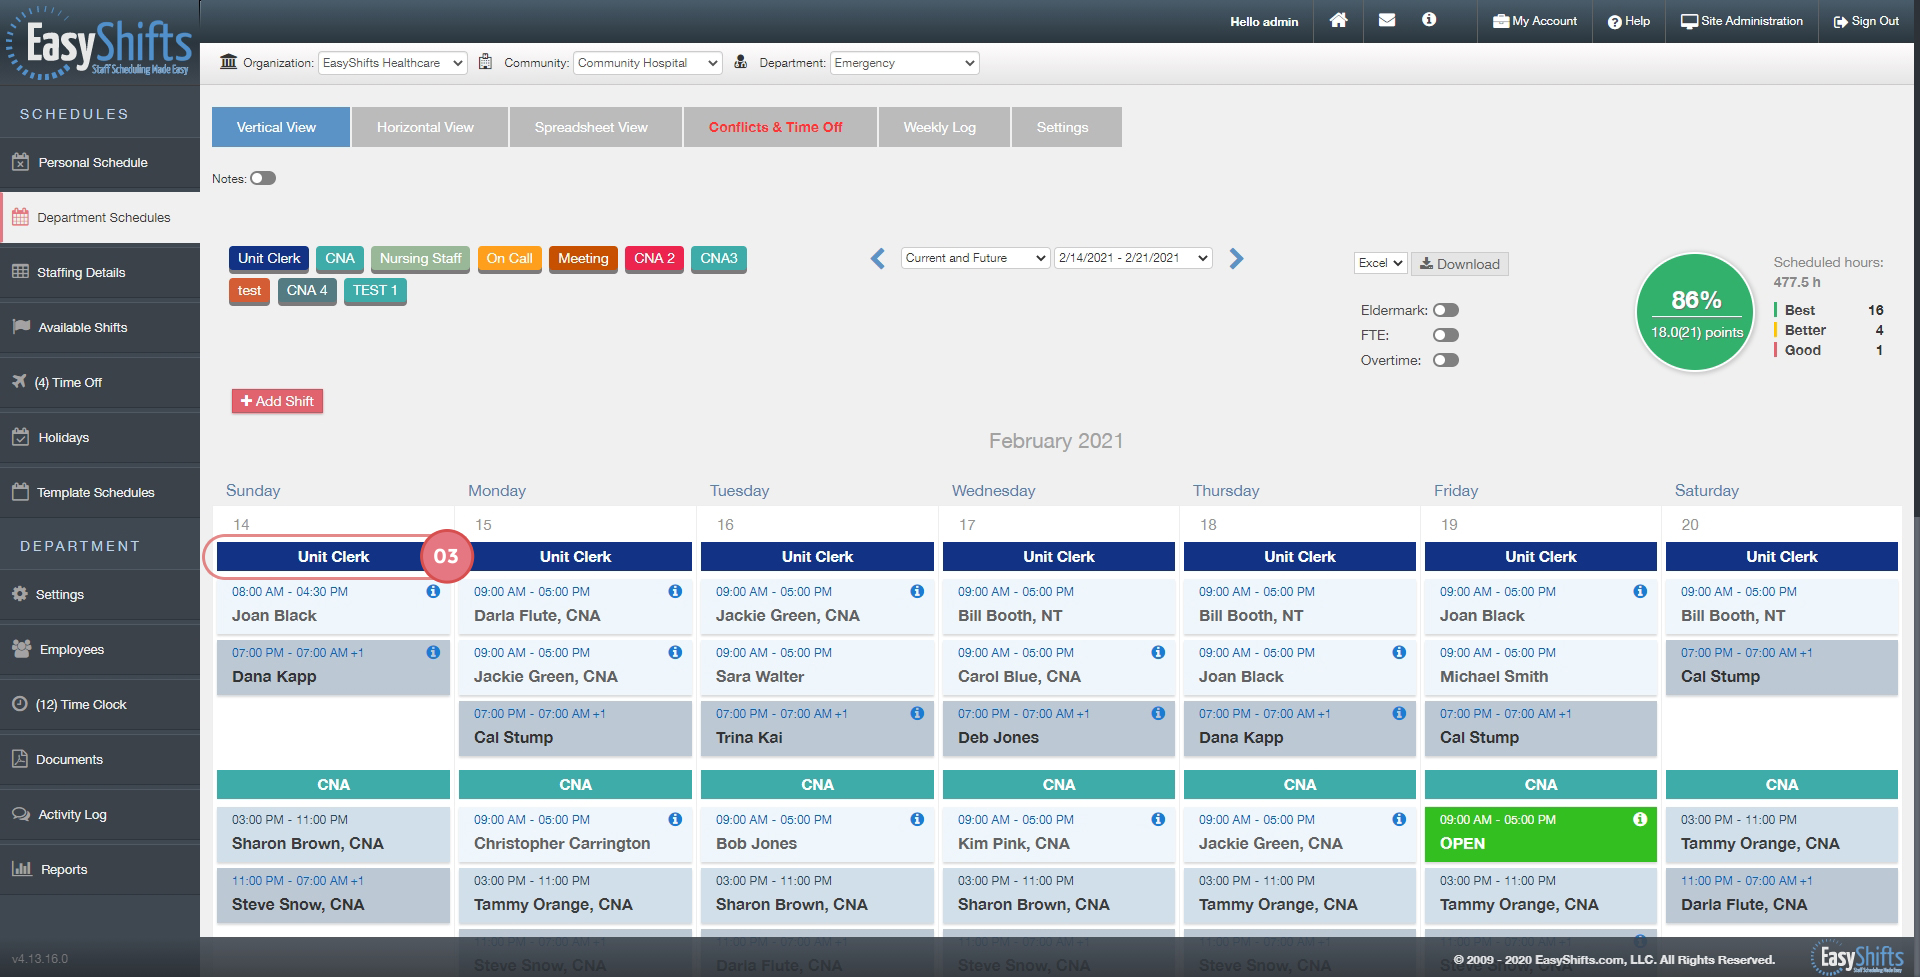
3. Press the job title you wish to create the shift for.
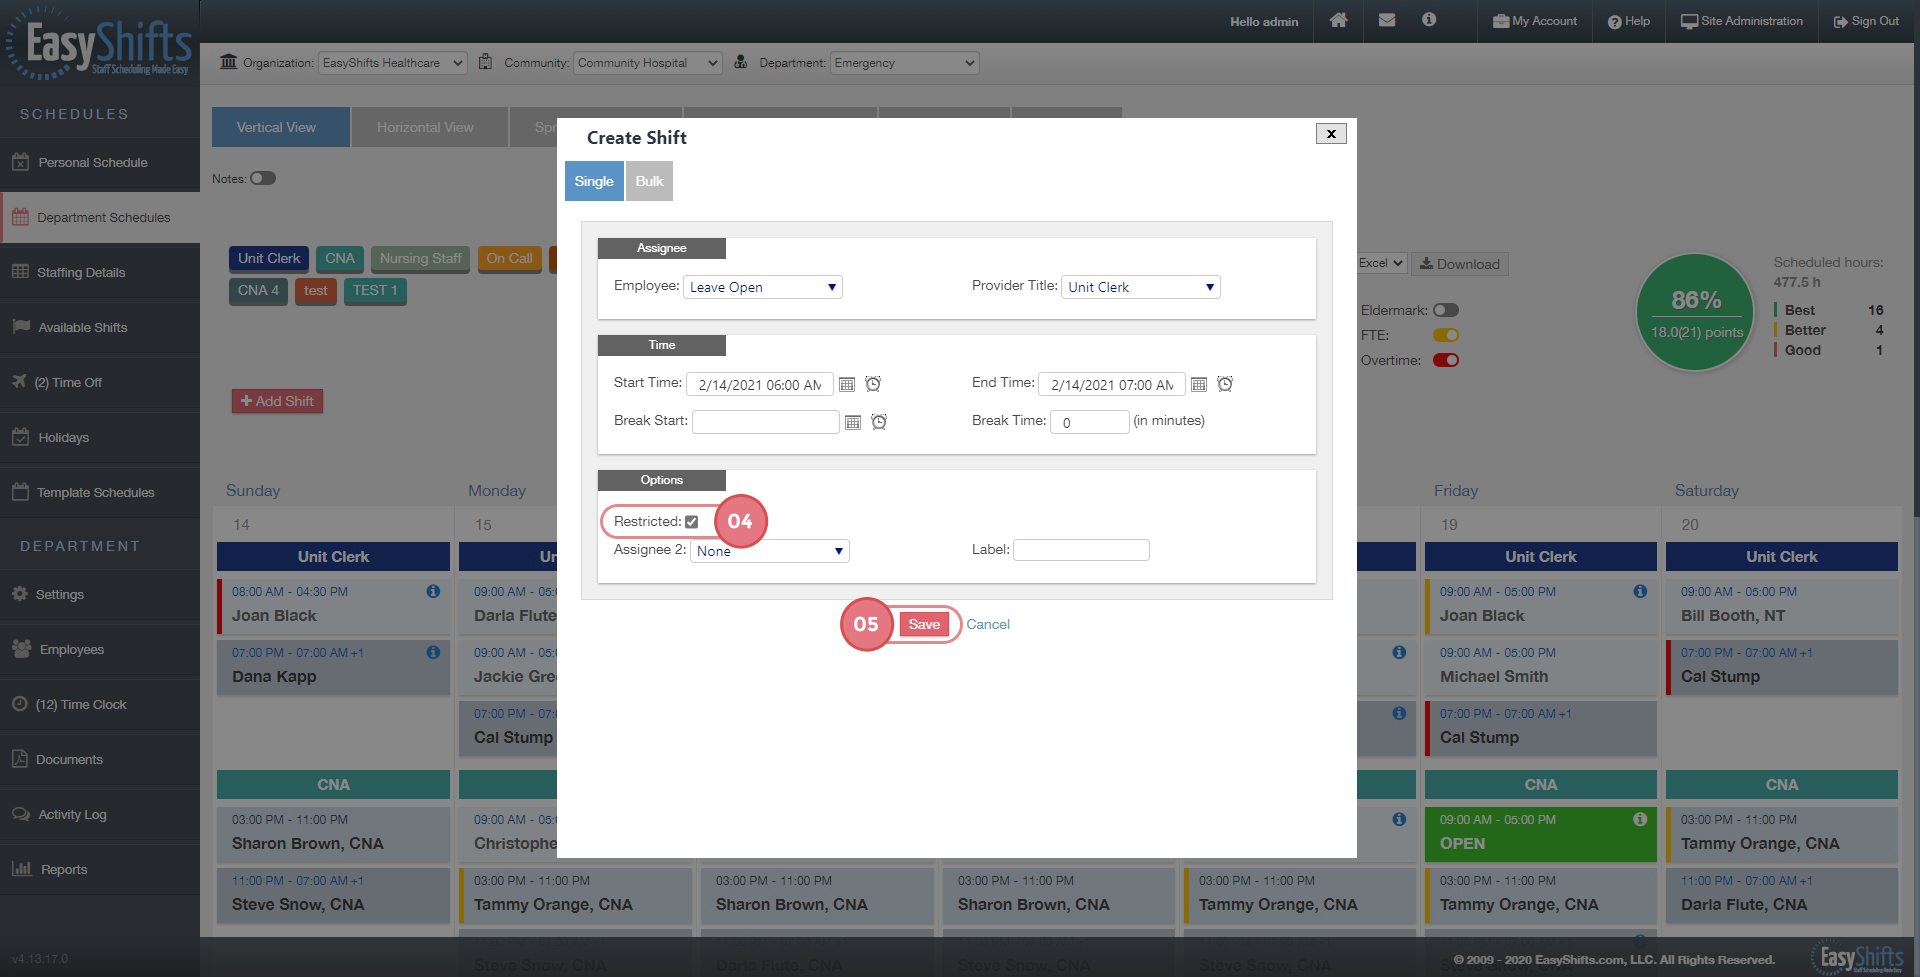
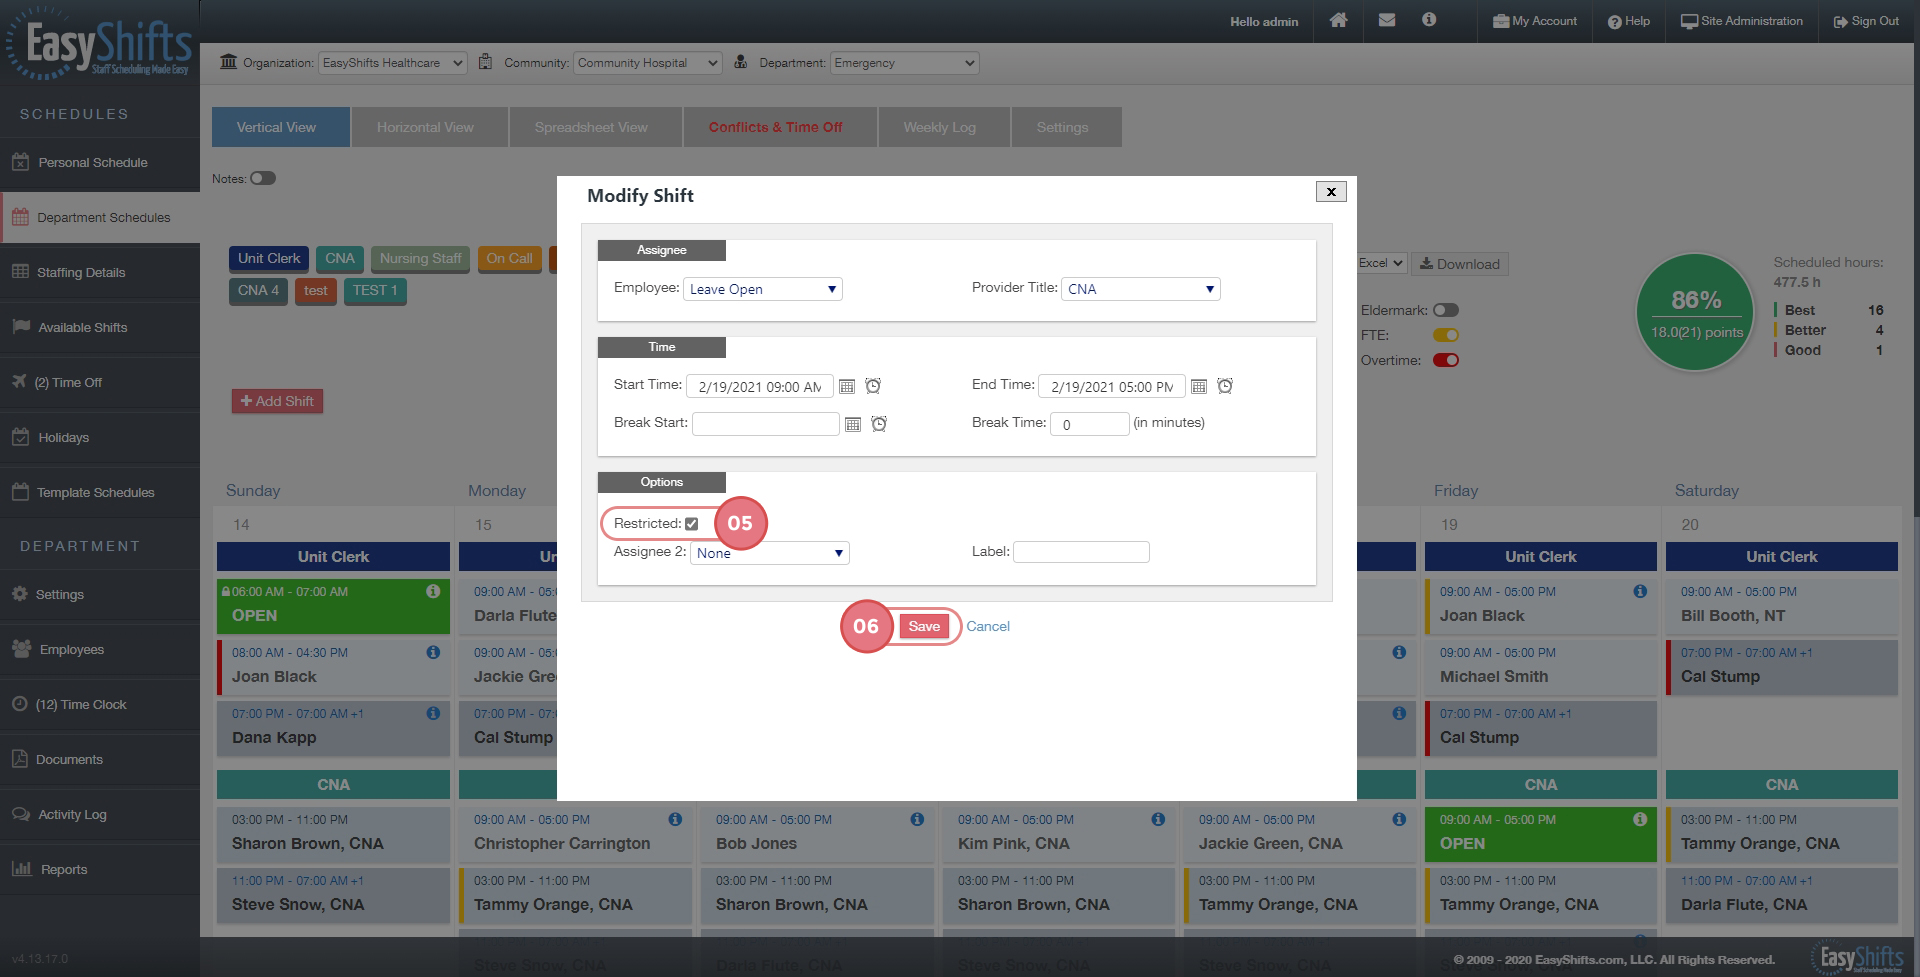
4. After choosing your desired start and end time, make sure the "Restricted:" box is checked.
5. Save. You should now see the shift created with the padlock icon.
You can also change a previously created open shift to a restricted shift.
1. To create a restricted shift you must first select the "Department Schedules" tab.
2. Next choose which week you wish to create the shift for.
3. Press on the open shift you wish to change.
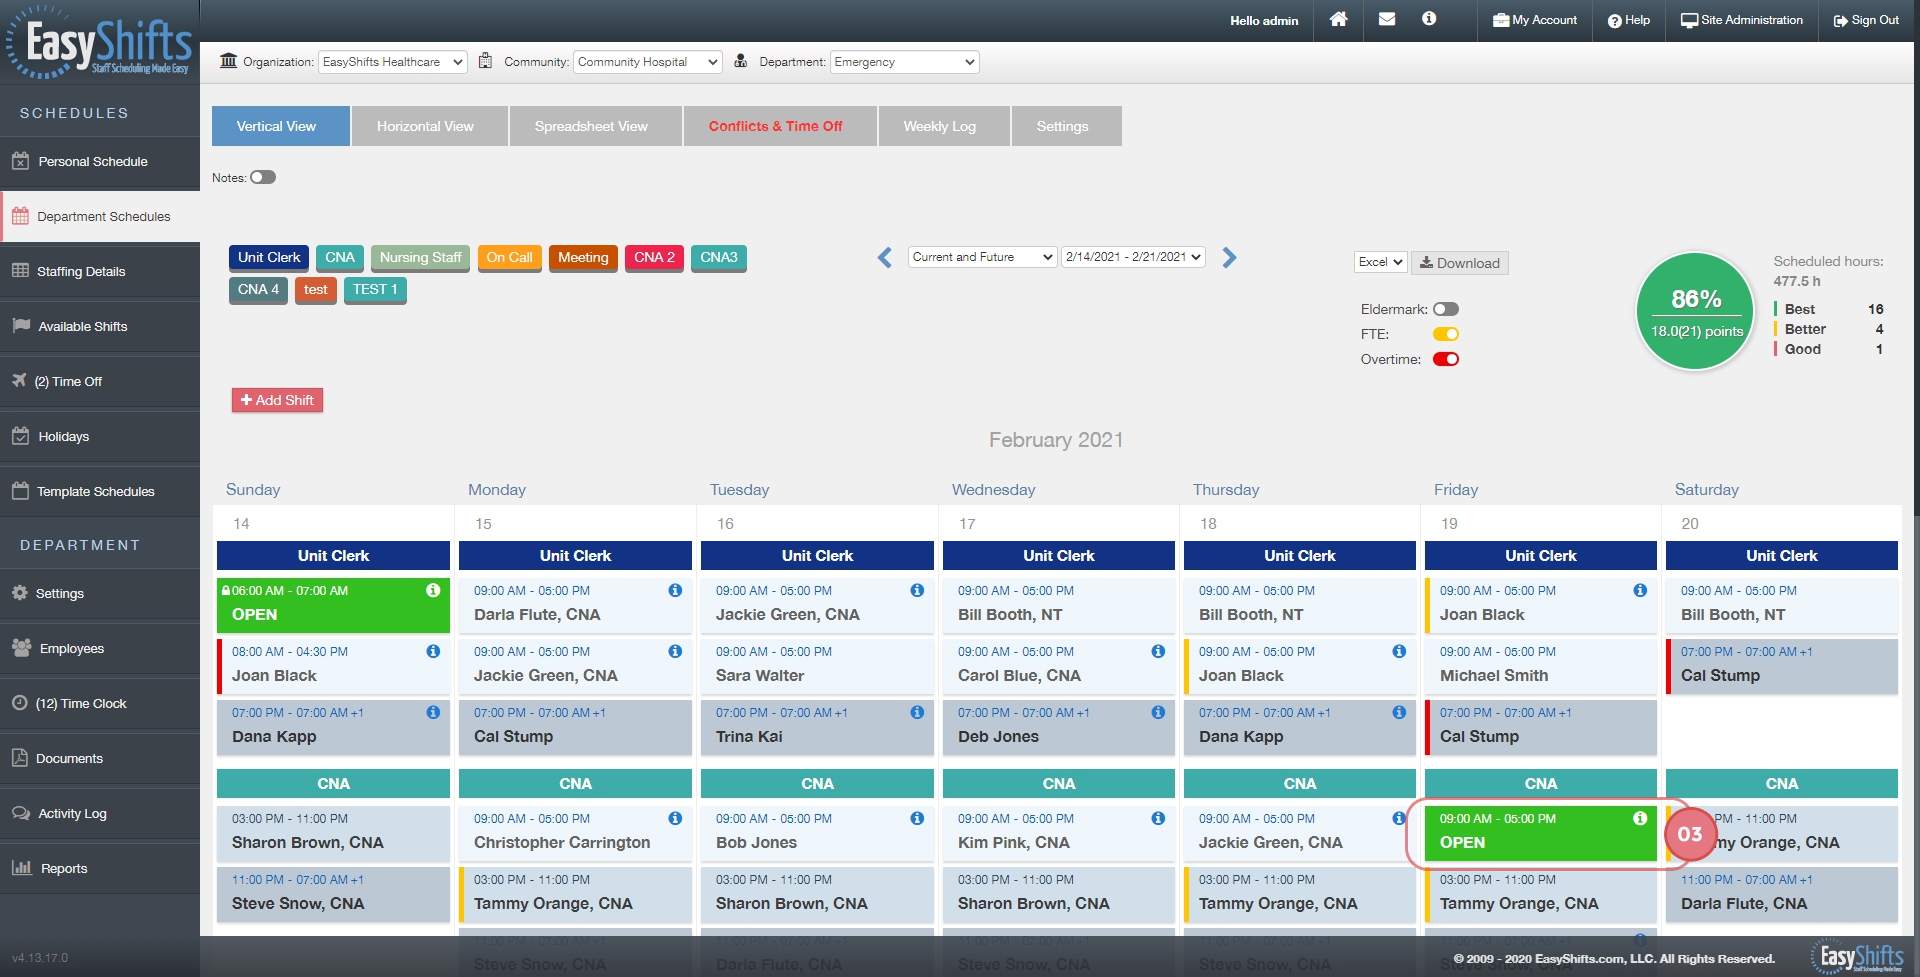
4. Press the "edit" button.
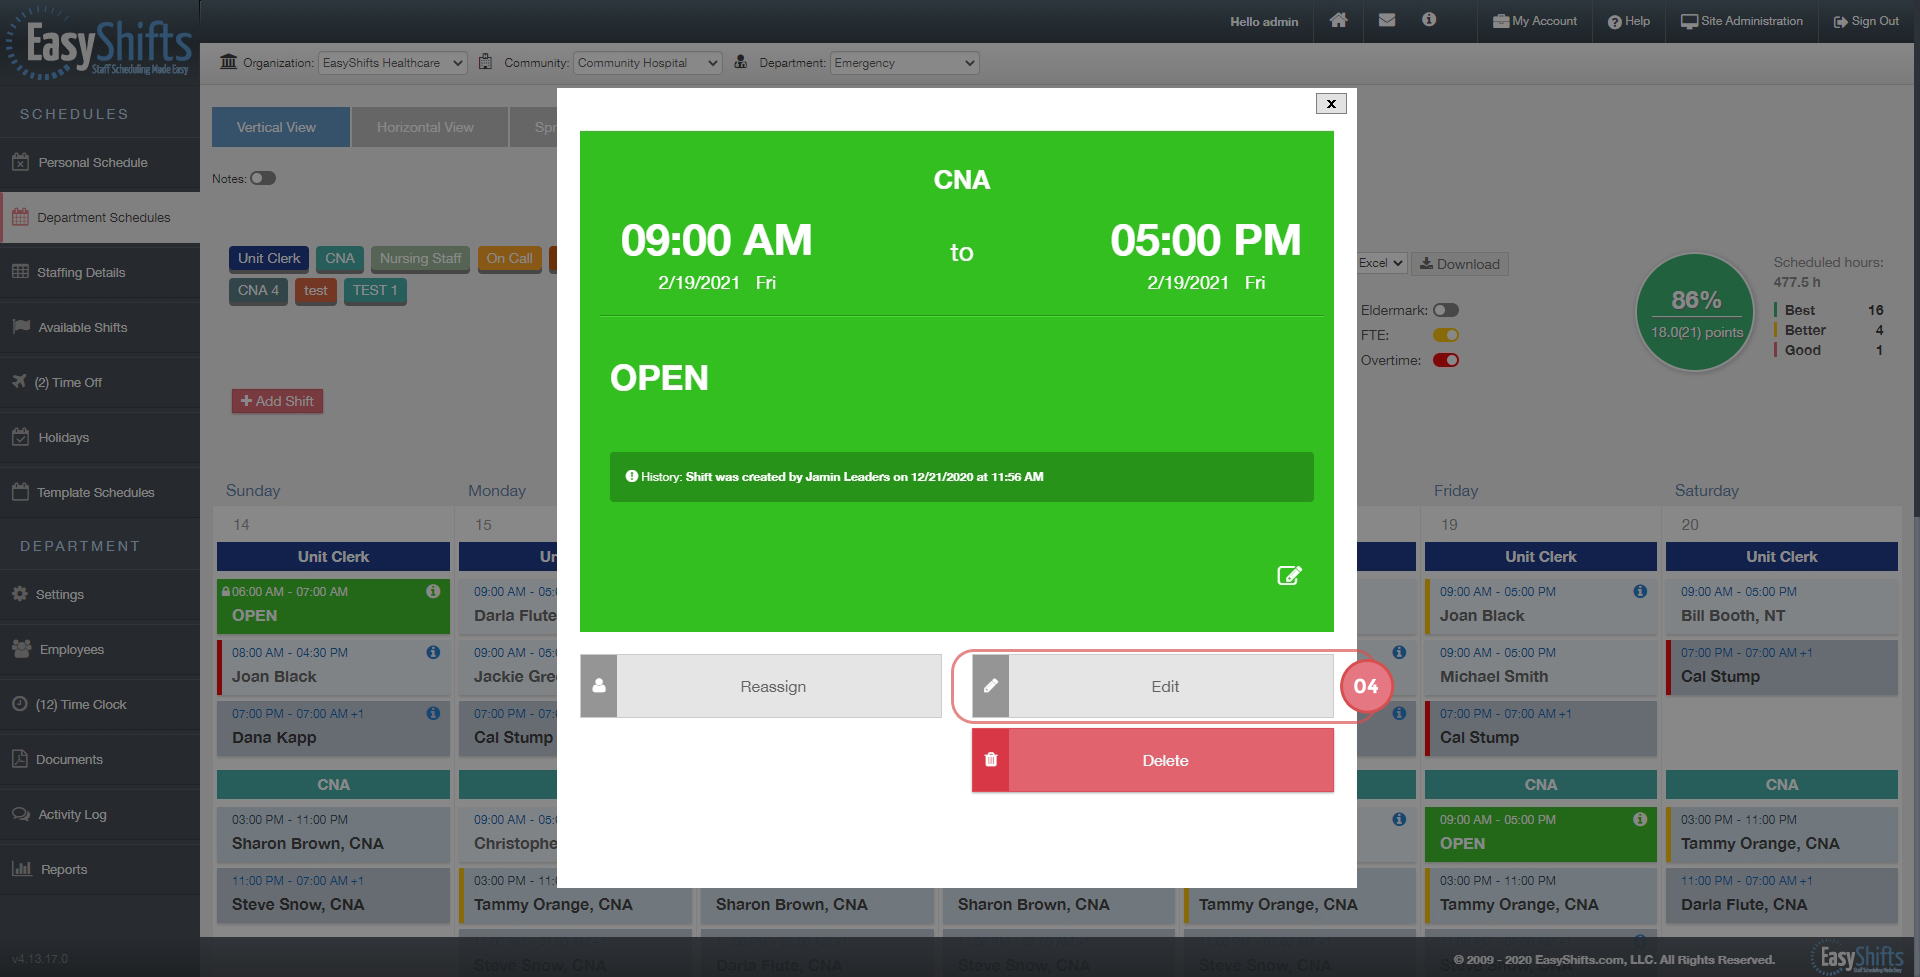
5. Check mark the "Restricted:" box.
6. Save. The shift should now show the padlock icon.
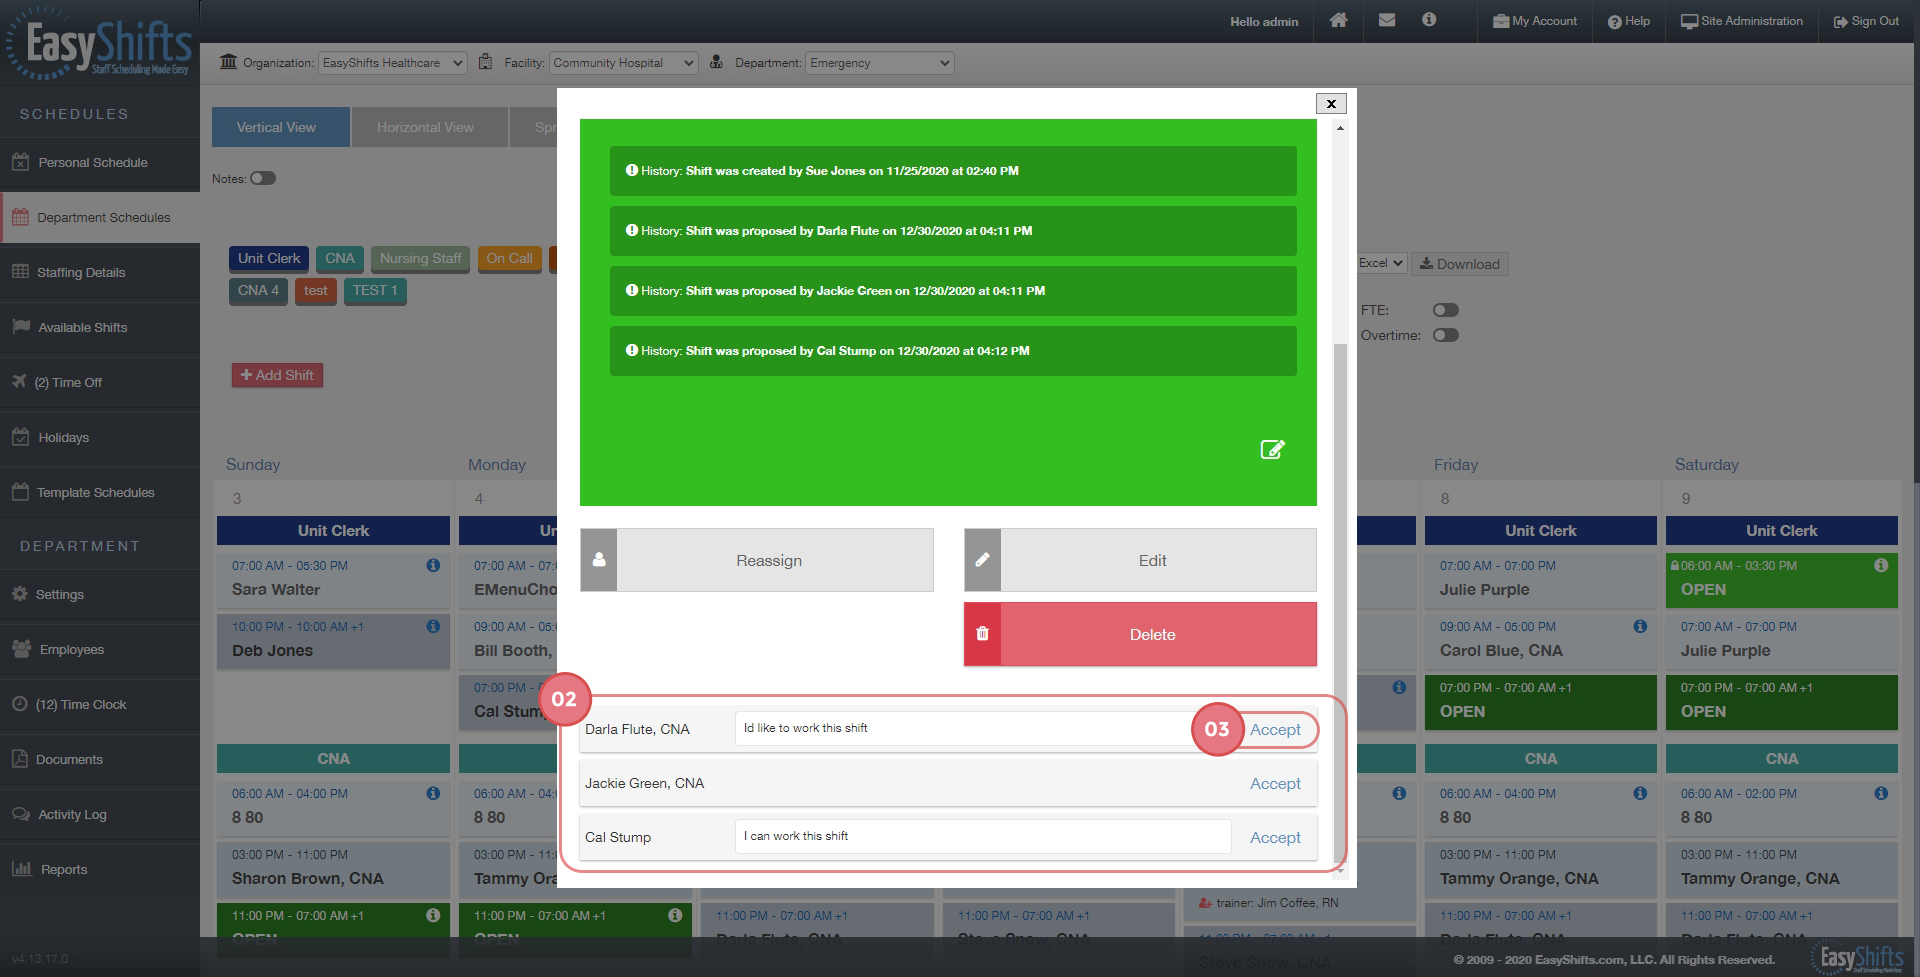
Assigning Restricted Shifts
1. Click on the restricted shift to see who has requested it
2. The Shift Details window will show you all employees who requested to work the shift
3. To assign the shift, simply click "Accept" next to the employee who you'd like to assign the shift to